![Vic's Journal 4-17-25 [Testing a New Wax]](http://1982candleco.com/cdn/shop/articles/Copy_of_Blog_Thumbnail_-_Lumina_800a19de-e1eb-46b3-93c5-484d5af670fd.png?v=1744959252&width=2560)
Vic's Journal 4-17-25 [Testing a New Wax]
Welp, last night I dove back into the world of testing candle waxes. As most of you know, we never stop looking for ways to evolve the brand and we're always on the lookout for new ways to improve our products and to be upfront, candles have been on our to-do list for a while. We've been looking at new waxes and wax combinations to see if they can generate a better performance and longer burn time and with that takes lots of time (and patience) on our end.
Exploring the Possibilities - Pre testing
We've bought samples of other waxes, including an olive oil wax - that we're still very much excited to fully test out for a future collection possibly ;) - but for the purpose of this round of testing, we decided to stick with a CocoSoy blend. We currently hand mix our coconut wax and luxurious soy wax and over the last few years we loved mixing our own blend and having already tested out wicks and burn times and all that technical stuff....there was a slight hesitation to test more. But in the pursuit of creating an even better performing candle, I guess you can say our job is never done. We looked at various waxes and ultimately the one that caught our eye was a popular wax used in Europe and other countries and has continued to prove to be a showstopper. So, here we are...come along on this journey with me.
Testing, Testing, 1-2-3
One of the very first things we do is pour the candle without a wick in the vessel. This helps us wick test without having a wick "glued/stuck" to the bottom. We used the manufacturer's suggested fragrance loads and heating temps and I decided I would pour both a large (double wick) and small (single wick) wickless candle at the same time. However, I chose a lighter scent, "The Blanc" for the double wick size and a medium scent "Misty Mornings" for the smaller single wick size.
My rationale here was that if I can get a great burn and amazing hot throw with these, then it will be easier to test the stronger scents like "Orange County" and know they will perform regardless. I then print out some of our "Candle Test Worksheets" (you see a small section of it in a photo below) - this helps us track the temps, any mushrooming, sooting and most importantly the flame height and jar temperature. For this round, I decided to start with Premier wicks as they typically perform very well for us in soy blend waxes and in my opinion burn on the cooler side while still producing a great hot throw.
Maybe at this point you're confused and asking yourself, "Vic, what is a hot throw?". I guess I'm over here throwing out chandelier lingo and some of you may have no idea what I'm talking about. Sorry. There is two ways to smell the scent of a candle, the first is the cold throw, that is when you pick up a candle and smell it before it has been burned. Typically, most people buy a candle based on its cold throw. If they like the scent, can smell it "strongly", they make the purchase. However, not all candles will smell the same when you light it.

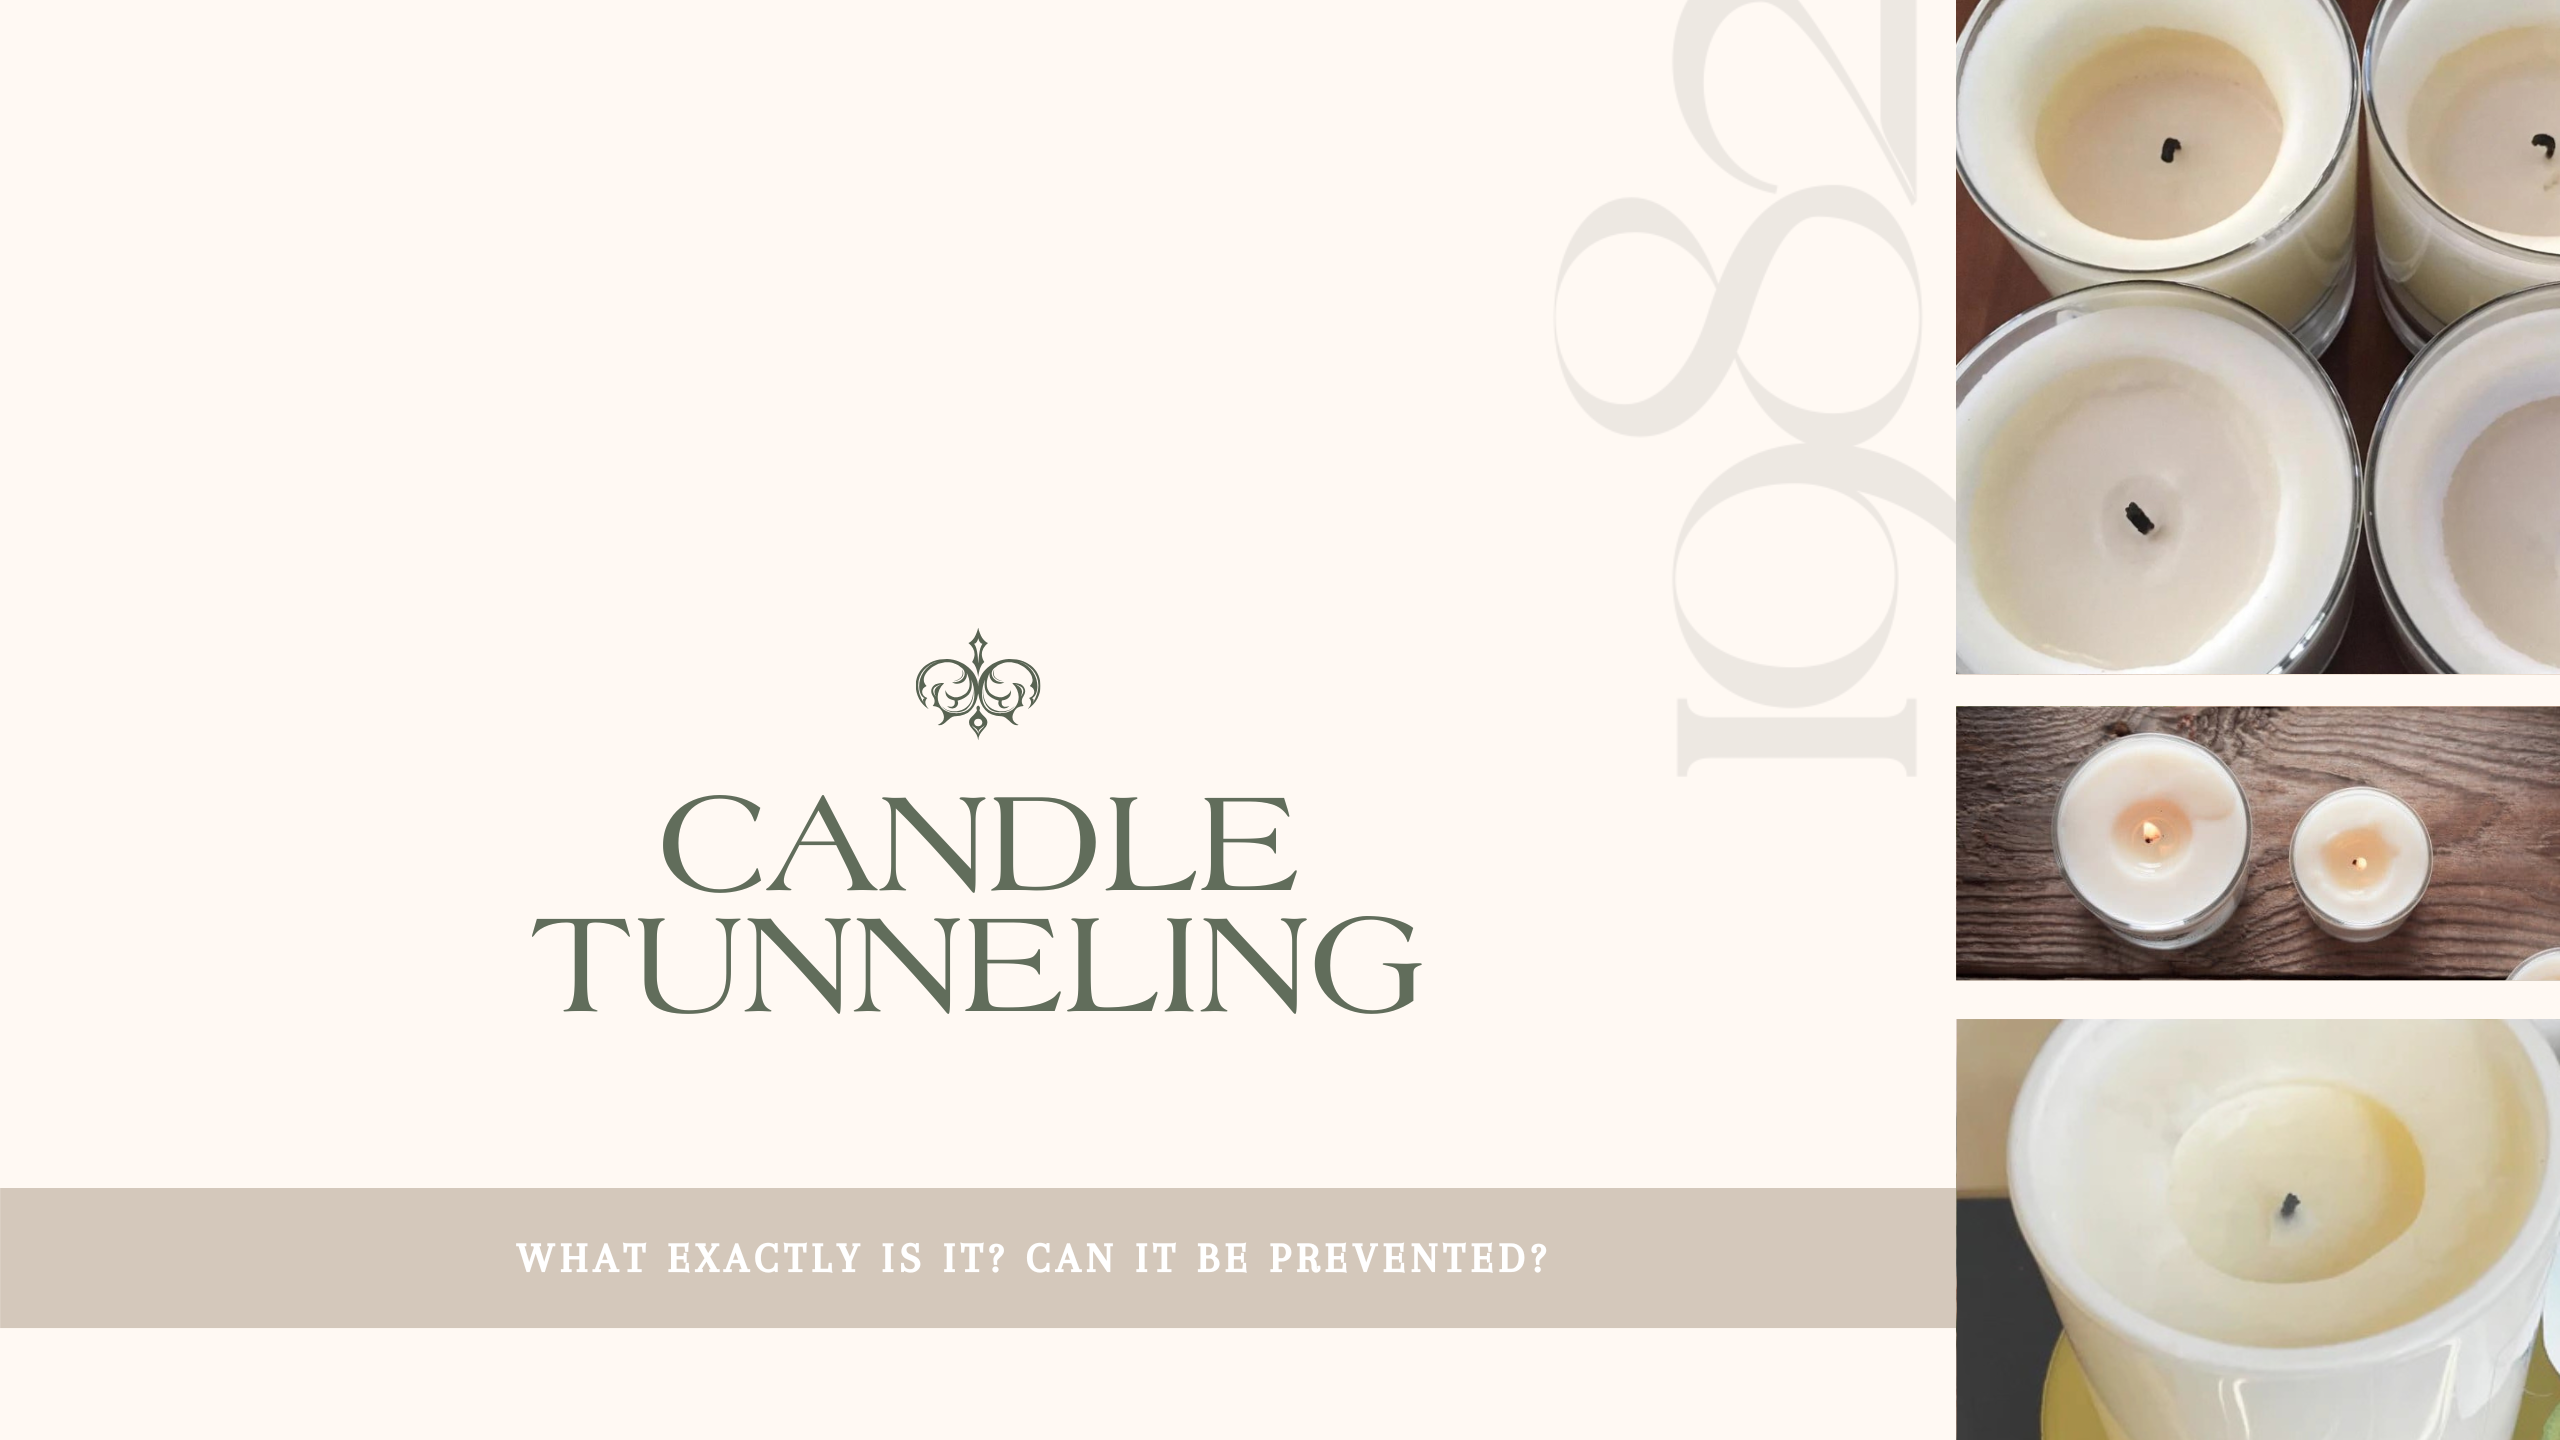
Once lit and burning for a few hours, you will begin to smell the hot throw, this is the scent once it has combusted and is coming off the melted wax as it meets the burning wick. For all candle makers, we want to create a candle that will have an equally impressive hot throw to match its cold throw....but it's a difficult mission to achieve. If the wick burns to cool, you may not smell the hot throw for 4-6 hours in and it will be sub par. If the wick burns too hot, the fragrance could burn off quicker and then you smell just melted wax more than anything else. So, there's this balance of the scales you want to achieve - all while meeting safety standards to ensure the candle doesn't shatter or tunnel (see blog post to learn more about tunneling).
Alright....it's ben 2 days and I am officially 12 hours into the test burn for the larger double wick candle. So far my experience has led me to a great wick choice as these are burning well with minimal red flags, if any yet. As you can see in the photo above there is slight mushrooming happening, but this is also because on the second burn I didn't trim the wicks to see how much hotter it would burn. Occasionally we will test burn using real life scenarios like not trimming our wicks or burning for 8-10 hours (like some people do - but should not). In addition, there is a little wax hangup on the side of the glass. This could happen for two main reasons. The first being that the wicks are slightly under wicked and burning cooler - unable to melt all the wax across. The second reason - which is likely the case here - the wicks are not properly centered. When test burning with a winkles candle - we have to insert the wicks and they can sometimes be slightly off centered. Hence why, when we determine the right wick size, we will build a proper candle with a centering tool and well, you guessed it - test again.

Personally, I like to see a little wax hang up on the side this early in the burn. Typically most candle makers, chandeliers would say the candle is underwicked and immediately wick up (trying thicker wick size) - however, our experience shows that, that is not always the case. As the candle burns down the glass will get hotter because it is creating a tunnel effect - therefore the wax will eventually burn down. The hang up this early is indicating to me that the wicks will burn slightly cooler until about half way through and then get warmer but will most likely never exceed the maximum heat temperature - which is one of our end goals. And, so far - the hot throw on this one has been amazing.
Checking temperatures over the next few burns

One of the most tedious parts of testing is checking the glass vessel's external temperature. According to the National Candle Association and the ASTM international standards a metal candle container must not exceed 125 degrees Fahrenheit and glass
containers should not exceed 140 degrees Fahrenheit - with an unsafe temperature over 170 degrees. So with each wick size change - we need to test the glass temperature throughout the burn. We use a digital thermometer and test different areas of the glass to get an overall picture of the burn and safety of those factors (wick + fragrance load).
Well, that's all I have for you guys for this journal entry. There is still lots of testing to go - but as we narrow down the wicks and the performance of each scent - we may have a new wax and new wick combination for this upcoming holiday season. But so far, I can say, this wax is performing so much better than our current waxes. The hot throw is so much more prominent and the wax resets beautifully. It is truly exciting and fun to go through this process and bring you all along for the journey in the blog.


Leave a comment
This site is protected by hCaptcha and the hCaptcha Privacy Policy and Terms of Service apply.